Saturday, March 29, 2014

Tacos Galore at Expressionz Cafe


Last Saturday, a few friends and I had the chance to check out Taco Day at Expressionz Cafe. We had originally heard about these delicious tasting tacos from one of my friends. She had noted how delicious they were and that we had to try it out as they reminded her of the food from home. Taco Day happens every other week at Expressionz Cafe and you can find the exact schedule on their website. In fact, the next Taco Day is this coming Saturday April 5!

Expressionz Cafe is located close to the Real Canadian Wholesale Club off of 99st on 70th ave. Parking can get tight, so parking might get inventive. 


We arrived around 1pm and found a table for 4 fairly quickly. The place was busy, and everyone looked super happy either enjoying their meal or snacking on the chips that arrived to the table while waiting for their meal.
3 different sauces that arrived with the chips - all were tasty, fresh and went well with the tacos.
Fresh tomatoes, cilantro, onions with lime 
Las Carnitas - soft pulled apart pork shoulder with cilantro & onions. Fresh lime & lemon for squeezing
El Pastor - slow cooked pork with pineapple, onion and cilantro
Three different types of corn tortillas here: Las Carnitas, El Pastor and El Suadero
In the end we decided to order two orders of the Las Carnitas, one order of El Pastor and one order of the El Suadero for four people. Pictured above are all three types. Upon receiving the tacos we quickly squeezed the fresh lime/lemon on the tacos and ensured that everyone had 2 Las Carnitas and one each of the El Pastor and El Suadero. This was truly genuine Mexican street food. The softness of the tacos, the balance of the flavours and acidity was amazing. For those of you that know me, I am not a fan of cilantro and I can tell you that the flavours were done so well, that I hardly noticed that the cilantro was there! The corn tortillas were soft and warm as well. Needless to say we were super full after eating our own 4 tacos each (16 tacos in total). The overall consensus for favourites was the Las Carnitas tacos with the pulled apart braised Alberta pork shoulder. Everyone had their favourite between the El Pastor (pork) and El Suadero (beef). My husband really liked the El Pastor made with the chopped slow cooked pork, special red spices and the touch of pineapples. He felt that the flavours all balanced well.   

Our first taste at Expressionz Cafe was not only tasty but delicious! In terms of pricing, each order of 4 tacos is $10. Great price, considering you can actually choose two flavours that you want or one of each kind.

I will definitely be back for Taco Day! When leaving, they also mentioned that they have Fondita Days which is Mexican comfort and street food (every other Thursday) from 5-9pm. Sound really intriguing and we will certainly return to try their cuisine for supper.


Expressionz Cafe, Market & Meeting Place
9938 70 Ave, Edmonton, AB
(780)437-3667
Cafe is open Mon-Fri 9am-5pm
Taco & Fondita Days listed on their calendar

Expressionz Cafe on Urbanspoon

Monday, March 24, 2014

Eat Alberta 2014 - Seed the Possibilities


I am super excited to let everyone know that Eat Alberta 2014 is coming back for a 4th season, this year's theme is "Seed the Possibilities". Tickets start selling tomorrow Tuesday March 25. For those that have never gone to Eat Alberta let me tell you a little more about it. Eat Alberta is a great place for anyone who, like me, loves food! It's a one day, workshop-style conference where you will have some hands-on learning, food tastings, and learn about local and regional Alberta foods. You will also have the opportunity to meet and learn from local farmers, chefs, foragers, botanists and bakers!

Taking a quick look at the sessions available on the Eat Alberta 2014 website, there are exciting sessions this year such as learning how to make jowl bacon from Chad Moss, hands-on nose to tail butchery from Elyse Chatterton, pumpkin ravioli making from Kathryn Joel, making scratch soup from Elaine Wilson, making curries with Michelle Peter-Jones, and breaking down an entire chicken from Nevin Fenske of Drift food truck. 


The keynote speaker this year will be John Schneider from Gold Forest Grains. Tickets for Eat Alberta are $150 each and will include everything from the keynote, 4 different sessions, meals (breakfast & lunch), and the mixer at the end of the day. You can purchase tickets starting tomorrow Tuesday March 25 on the website www.eatalberta.ca. Please visit the website for all the session descriptions, presenter bios, track information, FAQs and more!

Get your tickets early so you can get the food track that you want!

Thursday, March 20, 2014

Macaron Day - March 20, 2014 & Passion fruit Macarons


Pumpkin Spice & Earl Grey Macarons
Happy Macaron Day! Today, I bring you some of my favourite macaron flavours from the archives and the recipe for a new macaron flavour! 

For all of the recipes that I am featuring today, I am using a french meringue method. Take a look at my macaron tutorials for the macaron basic posts. Pictured above are two of my favourite flavours lately, pumpkin spice and earl grey macarons. These macarons impart some strong flavours, especially earl grey as it is such a classic. Pair either of these macarons with a cup of latte or tea! 


Passion Fruit Macarons

Directions:
  1. To make the shells of the passionfruit macarons, follow my Macaron 101 and Macaron 102 post. For the gel food colouring I used 2 drops of yellow gel food colouring and 1 drop of red gel food colouring.
  2. After shells have been baked and cooled, prepare to make the passionfruit buttercream.

Passion Fruit Buttercream

Ingredients: 
  • 80g (approx. 1/2 cup) superfine sugar 
  • 25g water 
  • 1 whole egg 
  • 1 egg yolk 
  • 160g soft butter (cut into cubes) 
  • 1-2 tsp of freeze dried passionfruit powder


  1. Bring sugar and water to a boil in a small pot. Heat the sugar to 250F(120C) using a candy thermometer. If it boils, clean the sides of the pan with a damp pastry brush. Try not to mix the solution, but allow it to heat on its own.
  2. In another bowl or the bowl of your Kitchen Aid whisk the eggs and egg yolks until it lightens in colour.
  3. Once the hot sugar mixture reaches 250F pour immediately into the whisking egg mixture. Then, increase to a higher whisking speed. Continue whisking until the mixture has cooled down completely. It will start to look like a meringue and be glossy.
  4. Keep whisking the meringue until it has cooled. Meanwhile, cream then whisk the butter until it has thickened. Once the egg mixture-meringue has cooled, add the butter. Add the whisked butter slowly into the meringue.
  5. Continue whisking until the buttercream is smooth. It may curdle slightly but this is okay. Keep whisking and the buttercream will come back together. Add in the passion fruit powder, and whisk to incorporate, Take a look at this video for making the buttercream (it's for a different buttercream, but will still give you an idea of what it should look like).


  6. Once the buttercream has come together, immediately transfer the passion fruit buttercream into a piping bag fitted with a nozzle (Here's a quick visual tutorial on piping bag basics). Match macaron shells by size, then pipe a small mound of passion fruit buttercream onto each half shell.
  7. Assemble the macarons and enjoy!
They should look just like these Salted Pistachio macarons! Incidentally, the Passion Fruit Macarons taste so good! You really should make them. Oh, and for those interested, I purchased the freeze dried passion fruit powder from Duchess Provisions here in Edmonton. Here's the recipe for these Salted Pistachio Macarons.


What are some macarons that you had today to celebrate Macaron Day 2014? Which flavours would you want to make or eat?

Friday, March 14, 2014

Homemade Ramen Noodle Recipe


I am so excited to share with you the ramen recipe that we have finally perfected! First off, a little background on why my husband and I decided to pursue making our own ramen. After trying the ramen in places such as Japan, Toronto and Vancouver over the past couple of years we often get a hankering for ramen. Unlike Toronto where there are ramen places down the street, in Edmonton where I currently live, there are no places at the momen to get some good quality ramen.

We feel that a good fresh ramen noodle should have just the right amount of bite (or al dente) mouth-feel and should have a distinct flavour unto its own (non-bland).  Most ramen noodles that we've tried have been too soft or flavour-less.

Hence the quest for making our own. Flashback to this past October 2013 when us together with some of our food friends decided that we needed to test out different ramen recipes to truly figure out if we could indeed create ramen at home. November happened to be our friend's Andrea's birthday (otherwise known as Little Miss Andrea), so what better way than to have a Ramen Party? 
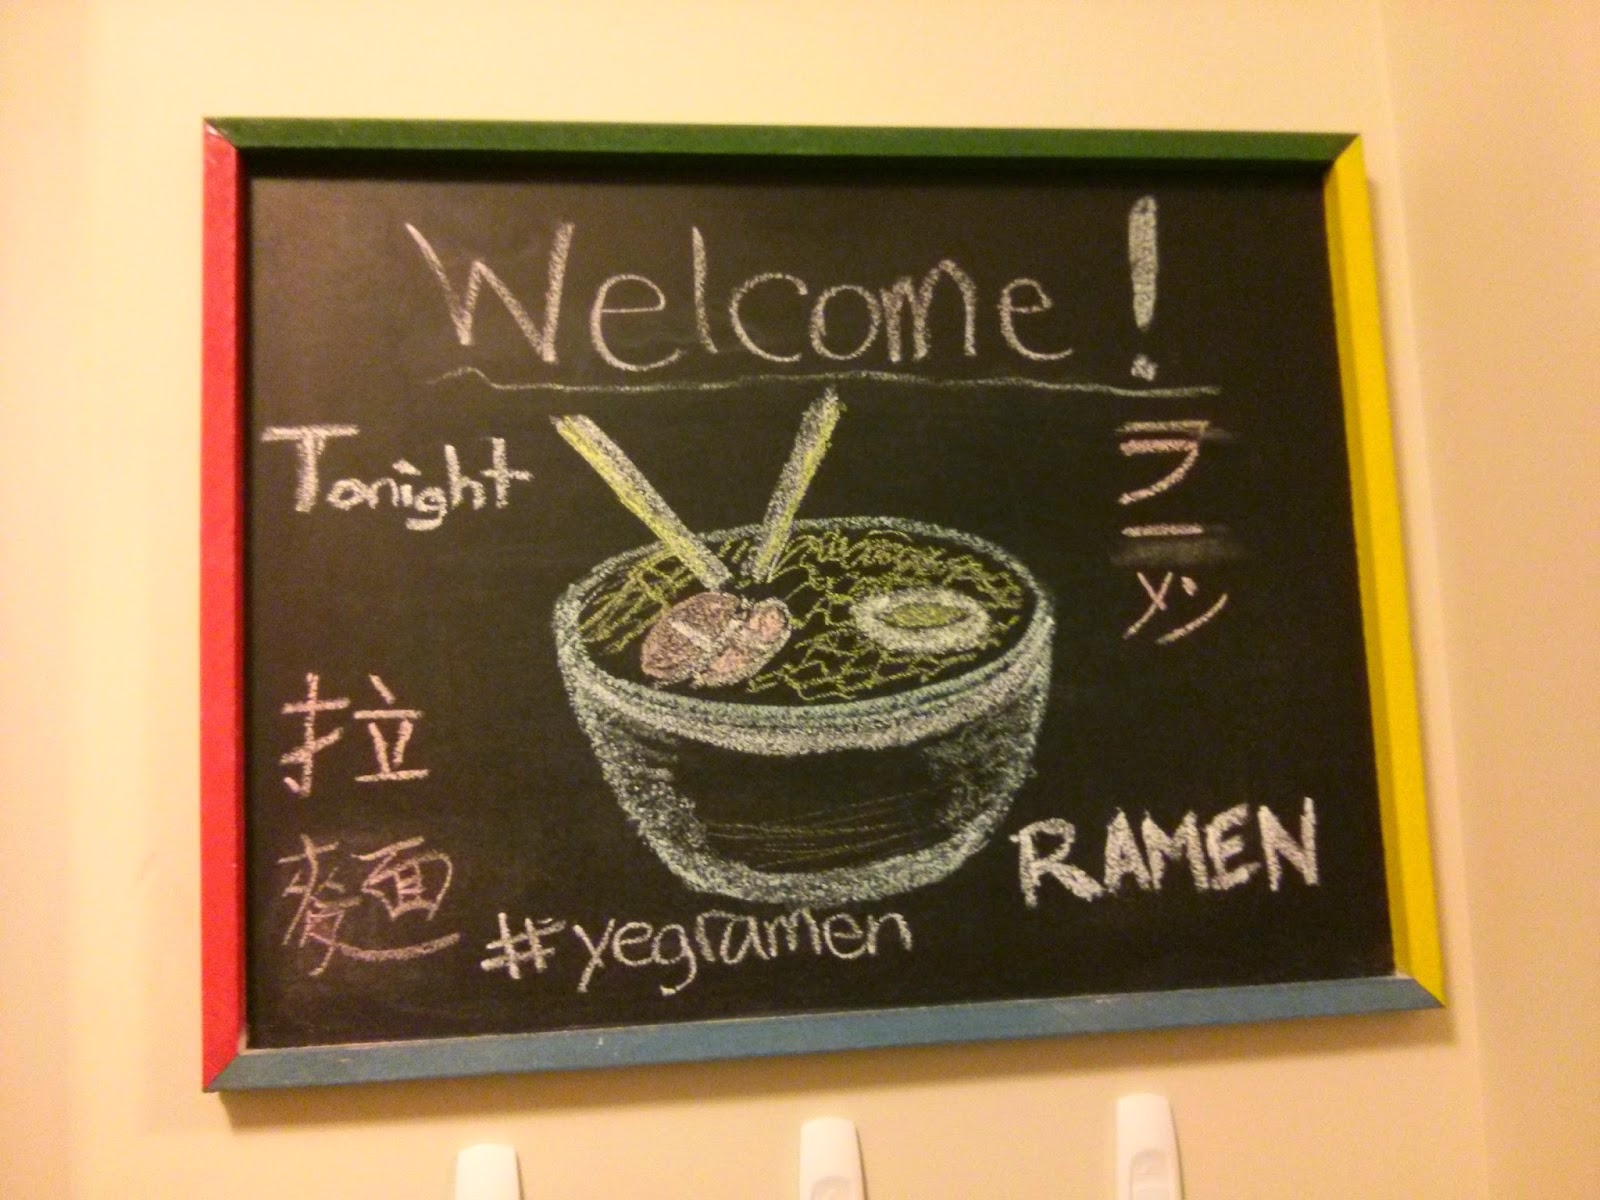
We even had a chalkboard depicting ramen and a hashtag to make it official!

We definitely have to thank my husband as he did most (if not all) of the grunt work. In the end, he created four different batches of ramen following different recipes and methods. When it came time to eating, we did a blind taste test of each ramen and judged the ramen using various categories. A sample of our judging chart is pictured below. 


After we had blind tasted all the ramen noodles (without broth) and tallied our scores, everyone was in agreement that Ramen A was the clear winner. Initially, it did taste slightly more alkaline, but the colour was a nice yellow and the texture of the noodle was perfectly al dente. Once Ramen A was served with the miso broth and all the toppings, it became the perfect ramen bowl. 


So, here is the recipe for Ramen A with a few modifications for taste and texture. Surprisingly, it is not a recipe found in Lucky Peach or in Momofuku. 

Ramen Ingredients:

  • 480g All Purpose Flour
  • 120g Bread Flour (not whole wheat)
  • 1 Cup of Water
  • 2 tsp of Kansui (Lye Water) mixed in 90 mL of water

Ramen Directions:

  1. Measure the water and kansui (lye water) with a scale.

  2. Mix the water and kansui together. Attach the bowl to the mixer and run on medium high speed for 10 minutes. It is a dry dough, and will begin to look like a bunch of gravel. Once it looks like gravel, turn the mixer off. Form the dough into a tight ball. There should be no dough pieces falling off.
  3. Place the dough into a lightly floured bowl and cover with saran wrap. Let the dough rest for a minimum of 4 hours in the fridge. It will turn a dark yellow (almost green) after it rests in the fridge.

  4. After a minimum of 4 hours in the fridge, divide the dough into 8 balls. Flatten each ball out on a flat surface. Then, run each piece through the largest setting of your pasta roller a few times, folding it in half each time. The dough will be ragged the first few runs through but will smooth out. Flour the dough generously and roll it out all the way from setting 1 to 5 on the pasta roller. You are trying to make it thinner. Use the spaghetti attachment to cut the pasta into long thin noodles. Dust the noodles with flour as they are cut to keep them from sticking together.
  5. One serving of noodles is 142g (or 5 oz) of uncooked noodles. Prepare how much noodle you are going to cook and prepare of pot of boiling water large enough to cook your noodles. Get a timer ready. When it is at a rolling boil, put the noodles in and immediately begin the timer. Stir to keep the noodles separated. Cook the noodles for only 2 minutes 15 seconds for maximum enjoyment. Once you put the noodles into the boiling water it will stop boiling but keep the timer going to prevent overcooking.

  6. Once the noodles have been cooked, pull them out and rinse the noodles under cold water. This will help rinse off any of the lye taste.
    toppings for the ramen: cha siu from Argenplath, homemade pork jowl chasui & onsen egg from L & S,
    and crab from T.
  7. Add noodles to a bowl, add broth and toppings. Enjoy!

    Hot bowl of ramen topped with bonito flakes & sesame seeds. 
Andrea's mochi ice cream dessert


Enjoy all your hard work as this is guaranteed to satisfy your craving of ramen noodle at home. Each serving of ramen for a person is 142g. Needless to say all 11 of us ate very well that night. Hands down, a great way to celebrate a birthday with friends. 

Hopefully you will try your hand at homemade ramen noodles at home! I'm also more than happy to answer any questions. Our next challenge is to focus on the broth. 

Thursday, March 6, 2014

Throwback Thursdays to ...Taylor Fladgate Port


So, it's Thursday again and I'm looking through the list of new wines, ports and whiskeys (yes!) that I tried back in October 2013 during the Rocky Mountain Wine & Food Festival. 

One of the unique ports that I had the opportunity to try was from Taylor Fladgate Tawny Ports. The reason they are called tawny is because as these age they often take on a amber colour known as 'tawny'.  

The first one I tried was the 10 year old Tawny Port. This one was very good with a sweet caramel finish. As I sipped the port it almost seemed to become more and more complex. The representative noted that the taste of port can depend on the barrel they are made in - either French oak or American. The taste can also depend on how the oak was treated. This 10 year old Tawny Port retails for about $33-35 which would be a reasonable price if you are looking at a port to add to your collection. I am thinking it would be a good port to keep around for using in small quantities for mains, desserts or paired with cheese. 

As for the 40 year old port, well the name in itself certainly indicates maturity. This one was not only very rich and buttery in flavour but also lingered longer in the mouth. I can only imagine that it would pair very well with a gouda or a pecorino. Certainly, given that it is 40 years old, this port retails for $190. 

As for me, I am leaning towards the 10 year old Tawny Port to add to my collection. A quick look at the Taylor Fladgate' website indicates that there are some recipes available to try and even cheese pairings!

Have you tried either of these ports? Or do you have another favourite port that you like? Let me know in the comments below!