Tuesday, May 28, 2013

Delicious Cinnamon Hazenut Rugelachs Recipe

 
I am a huge advocate of the public library; specifically here in Edmonton I am fortunate to have access to the Edmonton Public Library; which carries many books including ones of food! So, I was super excited to come across a book titled "I Love Cinnamon Rolls!" by Judith Fertig. I've been looking for a book about Cinnamon Buns and rolls for a while now, so this was perfect.

Looking through the book my husband and I came across a recipe for Cinnamon Rugelachs. They looked like cute mini croissants and I was drawn to their rolled up shape. Actually, rugelachs in Yiddish means "little twists" and are typically made of a sour cream yeast dough. Thankfully, the prep time for making these rugelachs are not as labour intensive in comparison to making croissants.


Rugelachs use a thin strudel dough recipe. The original recipe uses a walnut filling; whereas I used roasted finely ground hazelnuts. I love the smell of roasted hazelnuts! Below is the recipe for these delicious cinnamon hazelnut rugelachs.


Ingredients for Thin Strudel Dough

  • 1/4 cup whole milk
  • 1/2 cup sour cream
  • 1/2 cup unsalted butter (softened)
  • 2 tbsp granulated sugar
  • 1 tsp. salt
  • 2 large eggs
  • 3 1/4 cups of all purpose flour (with more for kneading dough)
  • 2 1/2 teaspoons instant yeast
Ingredients for Cinnamon Rugelach Filling
  • 1/4 cup finely ground and roasted hazelnuts
  • 1/2 cup packed light brown sugar
  • 1 tbsp. cinnamon
  • Egg wash (1 large egg beaten with 1 tsp. water) 
 Directions:
  1. In a mixing bowl combine the milk, sour cream, butter, sugar, and salt. Microwave on high heat for 90 seconds or until warm. Whisk in the eggs.
  2. Place flour and yeast into the bowl of a stand mixer with the paddle attachment. Add in the ingredients from step 1 (milk, sour cream, butter, sugar, salt, eggs). Mix on low speed until the dough forms a soft ball. Scrape down the sides of the bowl as needed. This should take 5-6 minutes.
  3. Switch to the dough hook and keep the mixer on low. To keep the dough from sticking to the sides of the bowl sprinkle the dough with flour from time to time. Allow to knead for 3-5 minutes. 
  4. To check if the dough is ready, stick a finger into the dough and see the dough spring back. 
  5. Take a large mixing bowl and oil it. Place dough into the bowl and cover with plastic wrap. Allow to rise in a warm draft-free place for 45 to 60 minutes. Typically we place our dough into the microwave as it is the most draft-free place in our place. Once the dough has doubled in size you are ready to start making the rugelachs.
  6. Transfer the dough to a floured surface and cut into 4 parts. (We just purchased a Roll'Pat from Williams and Sonoma (similar) which works well for rolling out dough.)
  7. Roll each part into a circle 12 inches in diameter.


8. To make the rugelach filling, if you don't have ground hazelnuts toast about 1/2 a cup of hazelnuts. Then, allow the hazelnuts to cool before finely grinding in a food processor or a Magic Bullet. Combine the ground hazelnuts, cinnamon and brown sugar together into a bowl. Using a scale measure out 4 equal portions of the rugelach filling (you can also estimate by tablespoons as needed).


9. To roll the rugelachs do the following:


Sprinkle the filling into each dough circle with 1/4 of the filling.
Spread the filling around with a pastry brush (you can also use your hands).

With a serrated knife or pizza wheel cut each circle into 16 triangles.
Thin cinnamon rugelach dough cut into 16 triangles. 
To roll: Start at the wide end of the triangle and roll the triangle into a tight crescent.
As you roll, try to keep the filling inside the triangle.
Place each roll with the strip down to prevent it from unrolling.
Place on parchment paper approximately 1 inch apart.
Allow the rugelachs to rest in a warm place for 45 minutes. They won't rise a lot. 
Preheat the oven to 350F.
Brush each roll with the egg wash mixture. 
Sprinkle any remaining filling onto the rolls. 
Bake at 350F for 13 - 15 minutes. The cinnamon hazenult rugelachs should look golden brown.

Food Notes:
  • When I make these cinnamon rugelachs again I would double the rugelach filling as there was not enough filling to sprinkle on top before baking.
Below is the link to the book on amazon. I haven't baked any other recipes yet from the book, however, so far I am happy with these cinnamon rugelachs. The rugelachs make a great snack during the day or when heated in the toaster oven are perfect to eat on the way to work in the morning. Have you baked any items from this book? Or is there a cinnamon bun recipe you typically use? Share in the comments below what you like most about home made cinnamon buns or a recipe that you enjoy using!

Wednesday, May 22, 2013

Step By Step Earl Grey Macarons with Earl Grey Buttercream Recipe

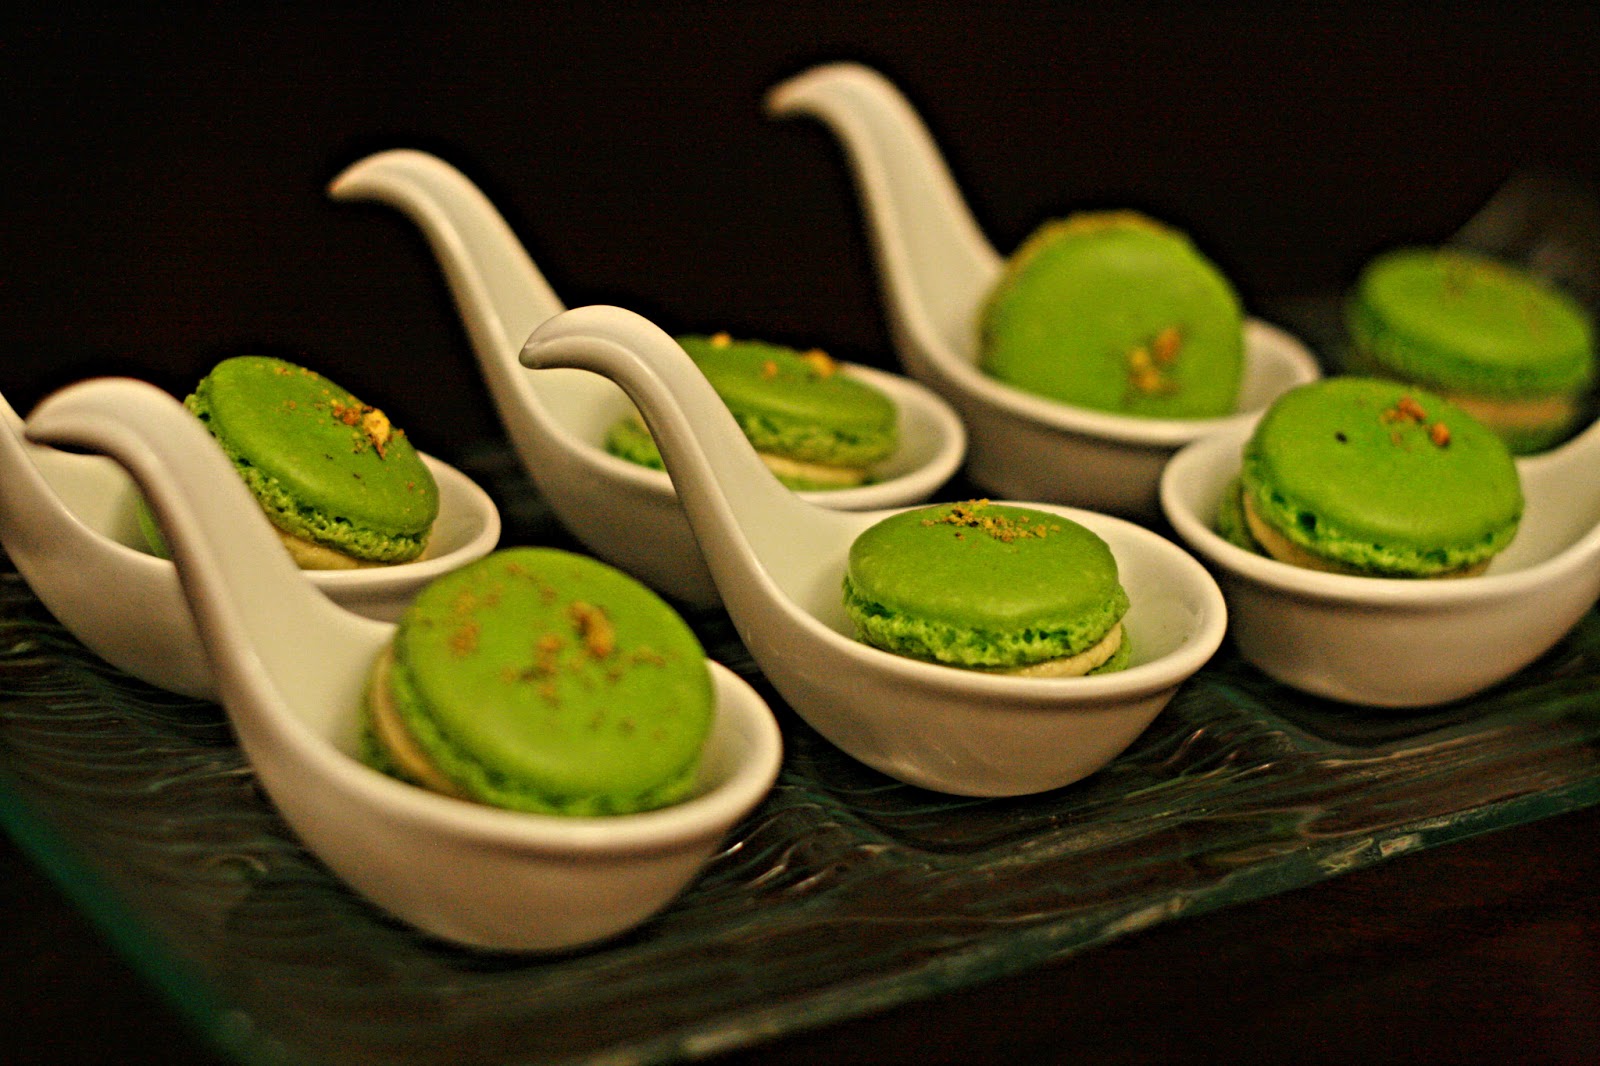
Finished Macarons, after some experimentation.As you can see, too hot of an oven can create macs with concave bottoms.

Thanks again everyone for participating in my Macaron Giveaway! For those of you who want to try making Earl Grey Macarons, this step by step blog post is for you! Before we start, here is a list of kitchen items you will need for the best chance of success with making those macarons:

  • a scale (crucial for measuring to the exact gram or oz!)
  • fine mesh sifter (I picked mine up from the dollar store)
  • food processor (try to find one that will last. I went through 3 of them in the past year)
  • Kitchen Aid (or similar), a hand mixer can also do the trick
  • piping bag and large round tip
  • Parchment paper or Silicon Mats (mine are from Crate & Barrel & Silpat)
  • gel food colouring (I am currently using the Wilton brand)
  • thicker baking trays (this helps prevents the macaron shells from getting too much heat)
  • toothpicks


Ingredients for the Macaron Shells:

100g of Aged Egg Whites (2-3 days in airtight container at room temperature)
225g of Powdered Sugar (also known as icing sugar)
125g of Almond Meal
5g of Dehydrated Egg White Powder (also known as albumen)
28g of Granulated Sugar


French Meringue Method for Macaron Shells:

1. Measure all ingredients with a scale.

2. Process almond meal and icing sugar in the food processor.

3. Sift the blended almond meal and powdered sugar through a fine mesh.

4. Start beating egg whites at low speed (2 on my Kitchen Aid).

5. When egg whites are foamy (mousse-like) add in the dehydrated egg white powder (albumen) and granulated sugar mixture.

6. Choose the colour you want for your Earl Grey macarons. I used a blue gel food colouring for these shells (Wilton Sky Blue). Don't be afraid to make the macarons a shade darker as the colour will lighten in the oven.

7. Increase speed on Kitchen Aid to 4. Beat egg whites until "soft peaks" form (stop, and tilt head back, look to see if egg whites form a small bird's beak). Do a check by stopping the mixer and tilting the head back to check the firmness of the peak. If a peak stays up, then you are done. Ensure that they are not stiff or foamy since that means you have gone too far! You have now made the "meringue".


8. Slowly add the blended almond meal-powdered sugar mixture 2 tablespoons at a time to the meringue you have created. Try using Chef Nini's method.

9. Mixing in a clockwise rotation seems best. The process that she describes is slowly adding your almond mixture into the egg whites in a clockwise direction. She also split her almond mixture into 6 parts. Mixing in a clockwise direction do the following:

1st part= 16 turns
2nd part = 11 turns
3rd part = 14 turns
4th part = 11 turns
5th part = 11 turns
6th part = 23 turns. Take a look at the video for a more detailed visual.

Here the macaron mixture flows like 'magma'  

10. Once the mixture feels and looks like magma (flows slowly - as pictured above) transfer it to a piping bag.

11. Pipe out small circles. I tend to pipe down and then do a quick circular movement to the right to finish piping one shell.

12. Pipe approximately 30 shells on each tray. Before piping the next sheet, firmly rap tray on floor or counter to get rid of any air bubbles inside the shells. This is called "tamping".

13. Use a toothpick to pop air bubbles on shells (this part is essential otherwise you get volcanoes instead of smooth macaron shells)

14. Let macarons sit for at least 30-45 minutes until a skin forms and is dry to the touch (this is also an important step)

15. Preheat oven to 250-295 degrees Fahrenheit.

If baking at 295F put one tray in the oven and bake for 8 minutes, then rotate tray (by now the feet should have formed!) and bake for another 11 minutes.

If baking at 250F (which I've been doing since we moved), bake the shells for 20-30 minutes before rotating the pan and baking for another 10 minutes. This allows for the shells to rise slowly enough to form a firm crust and the sought after pied (feet)

16. Take out of oven, allow macarons to cool.

17. Peel from silpat/silicon mat, and get ready to fill with your buttercream.

Note: Everyone's oven is different! I highly encourage you to experiment and bake some test batches and take notes. I use a table to help me with the headings: Resting Time, Temperature In, Bake Time and Results. For instance, when I used to live on the 10th floor of a south facing building I was resting my macarons for 30 minutes and then baking them at 295F for 8 minutes, rotate and then another 11 minutes. Now that we have moved and have a different oven I am baking my macarons at a lower temperature of 250F (which really measures at 275F) for 20 minutes, rotating and then another 10 minutes.


Earl Grey Buttercream (based on Pierre Herme's method)

80g caster sugar (superfine sugar)
25g water
1 whole egg (~60g)
1 egg yolk
160g soft butter (cut into cubes)
One bag of double bergamot (Earl Grey) tea


Directions:

1. Bring sugar and water to a boil in a small pot.

2. Heat the sugar to 250F(120C). If it boils clean the sides of the pan with a damp pastry brush. Try not to continually mix the solution. Allow it to heat on its own.

3. In another bowl or the bowl of your Kitchen Aid whisk the eggs and egg yolks until it lightens in colour.

4. Once the hot sugar mixture reaches 250F pour immediately into the whisking egg mixture. You may find turning down the whisking speed temporarily will help prevent hot sugar threads from flying everywhere. However, it is imperative to pour the hot sugar mixture in quickly and then increase to a higher whisking speed.

5. Continue whisking until the mixture has cooled down completely. It will start to look like a meringue and be glossy.

6. Meanwhile, cream then whisk the butter until it has thickened.

7. Once the egg mixture-meringue has cooled, add the butter.

8. Continue whisking until the butter cream is smooth. It may curdle slightly but this is okay. Keep whisking and the butter cream will come back together.

9. Cut open the tea bag and sprinkle into the buttercream and whisk until smooth.

10. Immediately transfer butter cream into a piping bag fitted with a nozzle and pipe away.

11. Pipe a small mound of butter cream onto each half shell.

12. Top with the matching shell to finish the macaron.


Once you are done matching and topping shells, resist the temptation to eat them! Macarons should be stored in the fridge in a covered container for 2 days to reach its optimal flavour and texture. When you are ready to eat them, take out of the fridge two hours before eating. If you are making an entire batch for a special event or can't finish all of them (like me) freeze you macarons in a covered container. Prior to eating defrost in a covered container for 2-3 hours in room temperature.

These macarons taste quite delicious. As you take a bite of the macaron, it is similar to taking a sip of Earl Grey tea. Pairing these macarons with Earl Grey Tea on a sunny afternoon would be perfect! Alternatively, bring them out to eat at a picnic, for dessert or even a small afternoon snack.

If you happen to be in the Edmonton or surrounding area and want to actually purchase these macarons, I do sell them! Go check out my macaron purchasing page for details!


Tuesday, May 7, 2013

Macaron Giveaway


I'm so excited to share with you all an exciting giveaway. As many of you know, I LOVE eating and making macarons. So, this coming Mother's Day is a perfect time for me to share my love of macarons with you.

Half a dozen macarons similar to the one pictured above will go to two lucky winners; just in time for Mother's Day! Unfortunately, due to logistics this giveaway will only be limited to people who are able to pick up the macarons in Edmonton on Saturday. You must be able to pick them up on Saturday afternoon May 11, 2013 at Southgate Mall. 

Mandatory  To enter this giveaway follow the instructions on the Rafflecopter below! 
  1. Leave a comment below answering the question: Which unique macaron flavour would you want to try? note: comment section is under the Rafflecopter widget
  2. Follow me via Twitter (@beyondumami) (+1 Entry)
  3. Tweet "Enter @beyondumami's giveaway to win some #macarons! http://bit.ly/11RzN5P #yegfood" (+1 Entry/Day/Tweet)
RULES:
Giveaway ends on Friday May 10, 2013; 10pm MST. This giveaway is only open to residents of the Greater Edmonton Area. You must be able to pick up the macarons at Southgate Mall, Edmonton on Saturday May 11, 2013 in the afternoon. 

Allergy Alert: Please note that macarons contain almonds, eggs, sugar, food colouring and earl grey tea.


a Rafflecopter giveaway

Monday, May 6, 2013

Step By Step Salted Pistachio Macarons Recipe


There two differences with these macarons: First, I used the Heritage Eggs for making the pistachio buttercream. I'm not sure if they were the eggs I used, but I must say that these macarons tasted very good. Secondly, there are many people that rave about salted caramel, this would be my twist: Salted Pistachio Buttercream! I was a bit uncertain when I first made these pistachio macarons as I should have used regular unsalted pistachios. However, the salt in the roasted pistachios added a nice saltiness to the macarons balancing with the sweet taste.

If you are in Edmonton, did you also participate in the University of Alberta Farm- Heritage Chicken Program? How are you using your chicken eggs? If you didn't have a chance to 'adopt a chicken' or not from Edmonton, what are some various ways that you eat your farm fresh eggs?
Ingredients
  • 100g of Aged Egg Whites (2-3 days in airtight container at room temperature)
  • 225g of Powdered Sugar (also known as icing sugar)
  • 125g of Almond Meal
  • 5g of Dehydrated Egg White Powder (also known as albumen) 
  • 28g of Granulated Sugar

Directions (this is the French Meringue Method):
  1. Measure all ingredients with a scale
  2. Start beating egg whites at low speed (2 on my Kitchen Aid)
  3. Process almond meal, powdered (icing) sugar in processor
  4. When egg whites are foamy (mousse-like) add in dehydrated egg white powder and granulated sugar combo
  5. In order to get a green colour for the pistachio shells; add in 2 drops of green gel food colouring (I used Wilton Green Leaf) with 1 drop of yellow gel food colouring. If you want a darker colour add more now as the colour will lighten in the oven.
  6. Increase speed on Kitchen Aid to 4. Beat egg whites until "soft peaks" form (stop, and tilt head back, look to see if egg whites form a small bird's beak)
  7. Sift Almond Meal/Powdered sugar through a fine mesh.
  8. Slowly add to egg whites using Chef Nini's methodMixing in a clockwise rotation seems best. The process that she describes is slowly adding your almond mixture into the egg whites in a clockwise direction. She also split her almond mixture into 6 part.. Here's what I did: 1st part= 16 turns, 2nd part = 11 turns, 3rd part = 14 turns, 4th part = 11 turns, 5th part = 11 turns, and 6th part = 23 turns. Take a look at the video for a more detailed visual.  
  9. Once mixture feels and looks like magma (flows slowly) put into piping bag
  10. Pipe out small circles. 
  11. Firmly rap tray on floor or counter to get rid of any air bubbles inside the shells
  12. Use a toothpick to pop air bubbles on shells (this part is essential otherwise you get volcanoes instead of smooth macaron shells)
  13. Let macarons sit for at least 30-45 minutes until a skin forms and is dry to touch (this is also an important step)
  14. Preheat oven to 295 degrees Fahrenheit
  15. Put one tray in the oven and bake for 8 minutes, then rotate tray (by now the feet should have formed!). Bake for another 11 minutes. 
  16. Take out of oven, allow macarons to cool.
  17. Peel from silpat/silicon mat, and get ready to fill with your buttercream!
Note: Since we moved and now have a new oven, calculations and oven temperatures have changed. After some experimentation, I've decided that the best temperature for this particular oven to bake the shells is 250 F for 20 minutes and rotating the pan and then baking for another 10 minutes. I hope to write a post about experimenting with a new oven for macaron baking soon!

 Salted Pistachio Buttercream
  • 80g caster sugar (superfine sugar)
  • 25g water
  • 1 whole egg (~60g)
  • 1 egg yolk
  • 160g soft butter (cut into cubes)
  • shelled pistachios

 Directions:
  1. Bring sugar and water to a boil in a small pot.
  2. Heat the sugar to 250F(120C), when it boils clean the sides of the pan with a damp pastry brush.
  3. In another bowl or the bowl of your KA whisk the eggs and egg yolks until it lightens in colour. 
  4. Once the hot sugar mixture hits 250F (using a digital thermometer/meat thermometer will do the trick nicely), pour into the egg mixture. You may find turning down the whisking speed will help prevent flying hot sugar threads everywhere. However, it is imperative to pour the hot sugar mixture in quickly and then start whisking immediately. 
  5. Continue whisking until it has cooled down completely.
  6. Meanwhile, cream then whisk the butter until it has thickened.
  7. Once the egg mixture has cooled, add the butter.
  8. Continue whisking until the butter cream is smooth.
  9. Blend the pistachios in the food processor until it forms a thick paste. It will look very dark as the oils from the pistachios will have come out and formed with the paste.
  10. Add the pistachio paste into the buttercream and whisk until smooth. 
  11. Immediately transfer butter cream into a piping bag fitted with a nozzle and pipe away!
  12. Pipe a mound of butter cream onto each half shell.
  13. Top with the matching shell to finish the macaron. 

Eating Notes:
  • Macarons must be stored for at least 2 days in the fridge to reach its optimal flavour and texture.
  • Take out of the fridge two hours before eating.
  • Macarons can also be frozen in the freezer. To eat, defrost in a covered container for 2-3 hours in room temperature before eating.