Friday, March 14, 2014

Homemade Ramen Noodle Recipe


I am so excited to share with you the ramen recipe that we have finally perfected! First off, a little background on why my husband and I decided to pursue making our own ramen. After trying the ramen in places such as Japan, Toronto and Vancouver over the past couple of years we often get a hankering for ramen. Unlike Toronto where there are ramen places down the street, in Edmonton where I currently live, there are no places at the momen to get some good quality ramen.

We feel that a good fresh ramen noodle should have just the right amount of bite (or al dente) mouth-feel and should have a distinct flavour unto its own (non-bland).  Most ramen noodles that we've tried have been too soft or flavour-less.

Hence the quest for making our own. Flashback to this past October 2013 when us together with some of our food friends decided that we needed to test out different ramen recipes to truly figure out if we could indeed create ramen at home. November happened to be our friend's Andrea's birthday (otherwise known as Little Miss Andrea), so what better way than to have a Ramen Party? 
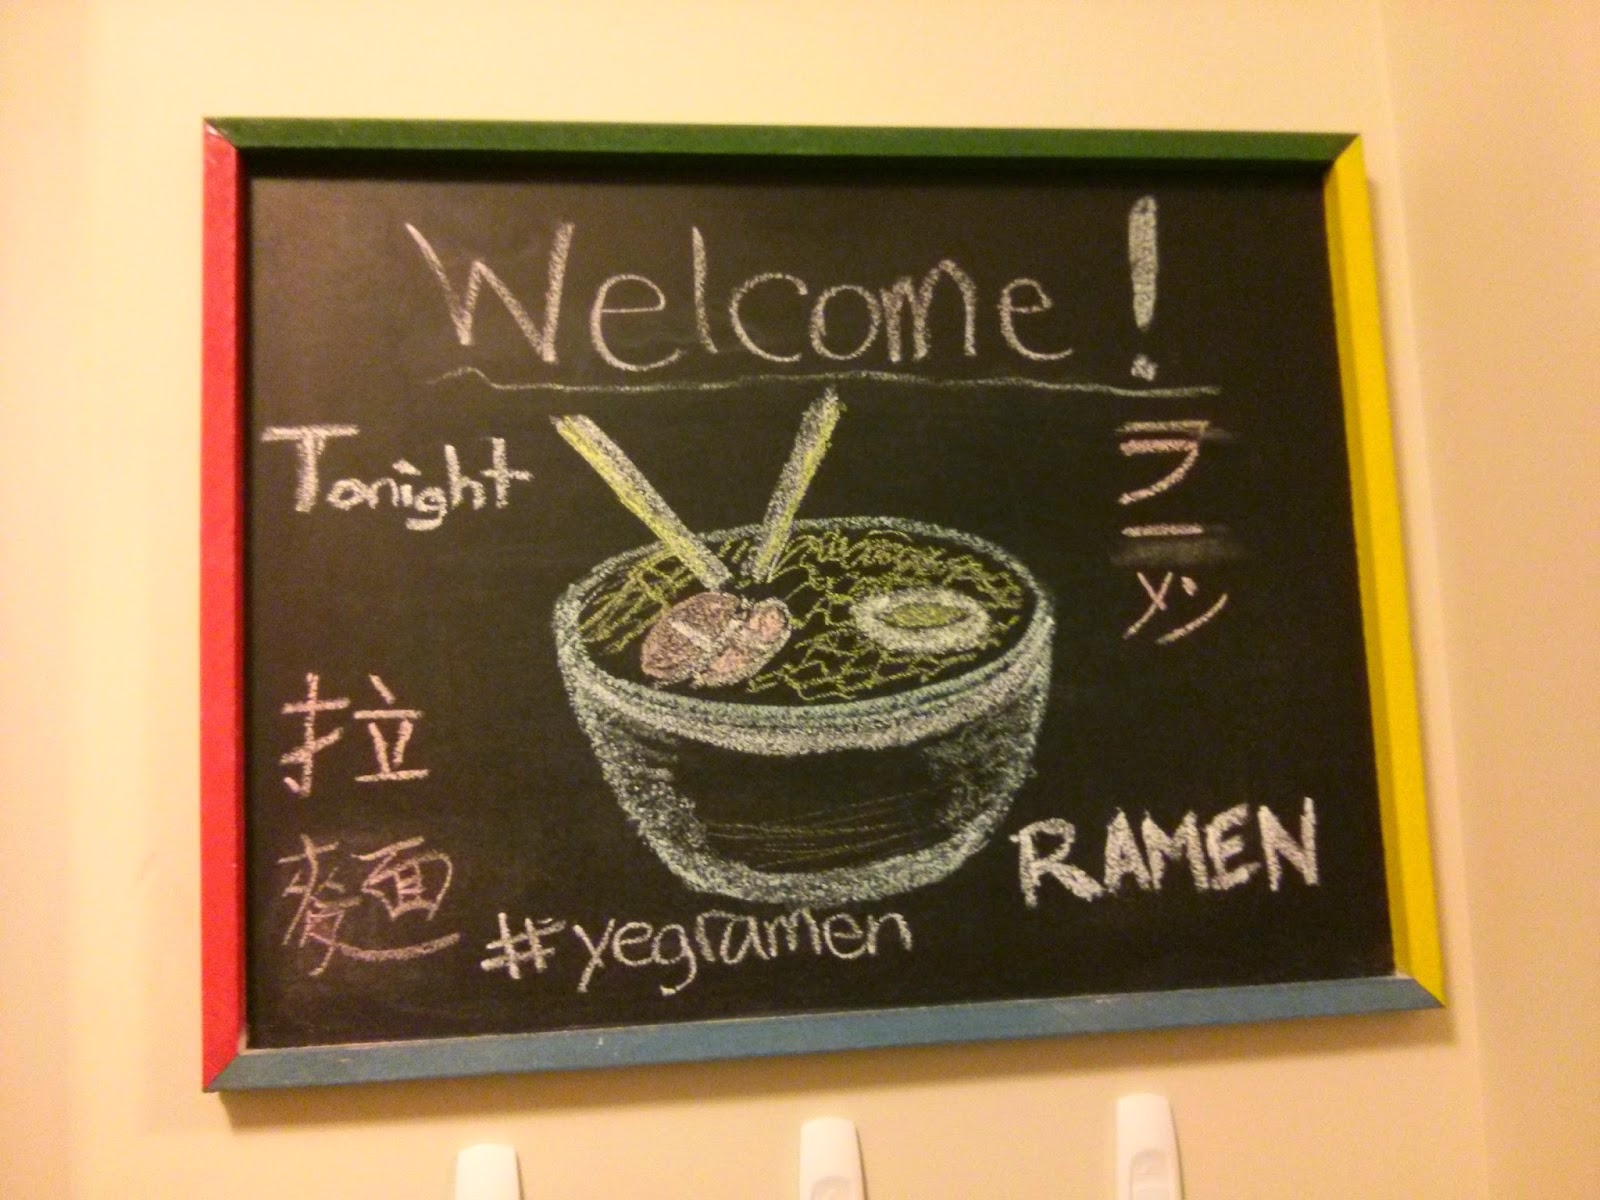
We even had a chalkboard depicting ramen and a hashtag to make it official!

We definitely have to thank my husband as he did most (if not all) of the grunt work. In the end, he created four different batches of ramen following different recipes and methods. When it came time to eating, we did a blind taste test of each ramen and judged the ramen using various categories. A sample of our judging chart is pictured below. 


After we had blind tasted all the ramen noodles (without broth) and tallied our scores, everyone was in agreement that Ramen A was the clear winner. Initially, it did taste slightly more alkaline, but the colour was a nice yellow and the texture of the noodle was perfectly al dente. Once Ramen A was served with the miso broth and all the toppings, it became the perfect ramen bowl. 


So, here is the recipe for Ramen A with a few modifications for taste and texture. Surprisingly, it is not a recipe found in Lucky Peach or in Momofuku. 

Ramen Ingredients:

  • 480g All Purpose Flour
  • 120g Bread Flour (not whole wheat)
  • 1 Cup of Water
  • 2 tsp of Kansui (Lye Water) mixed in 90 mL of water

Ramen Directions:

  1. Measure the water and kansui (lye water) with a scale.

  2. Mix the water and kansui together. Attach the bowl to the mixer and run on medium high speed for 10 minutes. It is a dry dough, and will begin to look like a bunch of gravel. Once it looks like gravel, turn the mixer off. Form the dough into a tight ball. There should be no dough pieces falling off.
  3. Place the dough into a lightly floured bowl and cover with saran wrap. Let the dough rest for a minimum of 4 hours in the fridge. It will turn a dark yellow (almost green) after it rests in the fridge.

  4. After a minimum of 4 hours in the fridge, divide the dough into 8 balls. Flatten each ball out on a flat surface. Then, run each piece through the largest setting of your pasta roller a few times, folding it in half each time. The dough will be ragged the first few runs through but will smooth out. Flour the dough generously and roll it out all the way from setting 1 to 5 on the pasta roller. You are trying to make it thinner. Use the spaghetti attachment to cut the pasta into long thin noodles. Dust the noodles with flour as they are cut to keep them from sticking together.
  5. One serving of noodles is 142g (or 5 oz) of uncooked noodles. Prepare how much noodle you are going to cook and prepare of pot of boiling water large enough to cook your noodles. Get a timer ready. When it is at a rolling boil, put the noodles in and immediately begin the timer. Stir to keep the noodles separated. Cook the noodles for only 2 minutes 15 seconds for maximum enjoyment. Once you put the noodles into the boiling water it will stop boiling but keep the timer going to prevent overcooking.

  6. Once the noodles have been cooked, pull them out and rinse the noodles under cold water. This will help rinse off any of the lye taste.
    toppings for the ramen: cha siu from Argenplath, homemade pork jowl chasui & onsen egg from L & S,
    and crab from T.
  7. Add noodles to a bowl, add broth and toppings. Enjoy!

    Hot bowl of ramen topped with bonito flakes & sesame seeds. 
Andrea's mochi ice cream dessert


Enjoy all your hard work as this is guaranteed to satisfy your craving of ramen noodle at home. Each serving of ramen for a person is 142g. Needless to say all 11 of us ate very well that night. Hands down, a great way to celebrate a birthday with friends. 

Hopefully you will try your hand at homemade ramen noodles at home! I'm also more than happy to answer any questions. Our next challenge is to focus on the broth. 

Thursday, March 6, 2014

Throwback Thursdays to ...Taylor Fladgate Port


So, it's Thursday again and I'm looking through the list of new wines, ports and whiskeys (yes!) that I tried back in October 2013 during the Rocky Mountain Wine & Food Festival. 

One of the unique ports that I had the opportunity to try was from Taylor Fladgate Tawny Ports. The reason they are called tawny is because as these age they often take on a amber colour known as 'tawny'.  

The first one I tried was the 10 year old Tawny Port. This one was very good with a sweet caramel finish. As I sipped the port it almost seemed to become more and more complex. The representative noted that the taste of port can depend on the barrel they are made in - either French oak or American. The taste can also depend on how the oak was treated. This 10 year old Tawny Port retails for about $33-35 which would be a reasonable price if you are looking at a port to add to your collection. I am thinking it would be a good port to keep around for using in small quantities for mains, desserts or paired with cheese. 

As for the 40 year old port, well the name in itself certainly indicates maturity. This one was not only very rich and buttery in flavour but also lingered longer in the mouth. I can only imagine that it would pair very well with a gouda or a pecorino. Certainly, given that it is 40 years old, this port retails for $190. 

As for me, I am leaning towards the 10 year old Tawny Port to add to my collection. A quick look at the Taylor Fladgate' website indicates that there are some recipes available to try and even cheese pairings!

Have you tried either of these ports? Or do you have another favourite port that you like? Let me know in the comments below!

Friday, February 28, 2014

D'Amore's Mercato - Fresh Italian Market & Bistro


Seeing that I had a day off this past week, I decided to check out the new Italian market & bistro that I had spotted on my drive home on 99st. D'Amore's Mercato is located at 4612 - 99 Street and is a fully functioning Italian market and bistro in the south side of Edmonton. When my husband and I arrived for lunch around 12:15pm Thursday the place was busy, but turnover was quick and we were able to get a table within a minute. There were about 10 tables on the eatery side available to have a bite to eat or to drink some Italian coffee.


After looking at their fairly extensive menu from pastas, salads, to paninis, we settled on two of their paninis for lunch. With it being an open kitchen, it was also super exciting to see that they had a full-sized wood-burning oven in the space! We also had the opportunity to try a slice of their thin crust pepperoni slices in the end as there were sample slices going around. Definitely a nice thin crust made with 00 flour. Nice balance to the cheese, pizza dough and the tomato sauce. 


Boccancini & Tomato Panini on whole wheat (Reg size - $5.95)
Cuban Grill with hot peppers (Reg size - $5.95). 
Slice of Pepperoni & cheese pizza.
One of the owners said that D'Amore's Mercato had just opened this past Friday! He continued to describe that all pastas are made by hand with an industrial pasta machine on site. They also brought in a chef from Italy to teach them how to make sfogliatelle, which is a very difficult Italian dish to make from scratch. Their tiramisu (their specialty) is also made by hand and on site. On the market side of Mercato you can find a wide variety of ingredients and supplies for making Italian food at home. They also have a deli counter where you can purchase cheese and deli meats. Or, if you aren't too sure about making it from scratch, they have already done it for you. In the freezers on the side there are boxes of frozen cannelloni to take home and bake, pastas and even trays of their famous tiramisu in various sizes; depending on the party you are going to have.


Handmade sfogliatelle! This is a super difficult
to make Italian dessert. We have tried making this
and it is nice to finally have a place to purchase them from!

D'Amore's Mercato Tiramisu


We left D'Amore's Mercato sufficiently filled and even had some tiramisu to try at home. As for the sfogliatelle it is best eaten warm as recommended by one of the owners. It is a sweet treat and stuffed with ricotta cheese. The tiramisu was really tasty and light without being too heavy. We will certainly be back to check out the pizzas and to see the new olive oil bar that will be coming in soon.

If you are in Edmonton and have a chance to check it out, let me know how your experience was at D'Amore's Mercato below.

D'Amore's Mercato
(Open 7 Days a week)
4612 99 Street, 
Edmonton, AB, T6E 5H5.
D'Amore's Mercato on Urbanspoon

Thursday, February 27, 2014

Throwback Thursday - Beringer Wines


Let's head back in time to the Rocky Mountain Wine & Food Fest this past October (2013) where I had the opportunity to taste test the Beringer line of wines available at the event. That night they had both whites and reds available to try. 

Starting with the whites there was the Beringer Founders' Estate Chardonnay and Pinot Grigio. Personally, I enjoyed the Chardonnay over the Pinot Grigio as it had a nice round taste to it and not on the dry side. The description Beringer uses is that it is a combination of "pear, apple, and ripe tropical fruit flavors, with a hint of citrus". I would say this would be a good white wine to bring over to a friend's place when having seafood such as lobster, fish or even a wine & cheese night. I am thinking a nice hard italian cheese such as the Hirten Castello would go well with it. 

From the reds I tried their Beringer Knights Valley Cabernet Sauvignon and their Founders' Estate Cabernet Sauvignon. Perhaps it is my particular preferences but the Knights Valley Cab Sauvignon was more of a winner when comparing these two reds. In asking the retail price, the Knights Valley usually retails for $35-40. I would probably try this red at home first with a nice pan roasted lamb leg chop or steak bought from my local butcher prior to bringing this over to a friend's place. 

What are your thoughts about Beringer wines? Have you tried this particular line or are you more partial to the other wines in the Treasury Wine Estates which includes 19 Crimes & Wolf Blass?

Monday, February 17, 2014

SnackBox - review & discount code


Like many of you, I love to snack! With my busy schedule, it is completely necessary to have small bags of snacks available in my work bag, in the car or in my purse to keep me going throughout the day. I found though, that when I was hungry I would often grab anything tasty, but not necessarily healthy. So in my mission to look for healthy snack options, I came across Karen's post over at Chasing Tomatoes about Snackbox. 

Snackbox, which is located out of Vancouver, has a monthly subscription service where they curate all sorts of healthy snack products available on the market. There is a holistic nutritionist that carefully chooses the products in order to ensure that there are healthier alternatives in the box compared to what we might ordinarily crave.

In Karen's post about Snackbox, she also had a coupon for $15 off. I was intrigued and decided to order a 3 month subscription for myself and at the same time send my friend in Toronto a box for her birthday (they have a gift option as well). That way we could compare snack notes as she loves snacking too.

My first Snackbox was their December one. Once opened there was a nice fact sheet with information about what snacks were in the box, website info for the snack company, retail price and retail locations for where you could buy each snack. At first glance, the Snackbox was pretty full! Not bad for $27/box (with the 3 month subscription price).
Most of the items in this particular box were gluten free. My parents were visiting at the time, so in short order we proceeded to taste some of the snacks. The dried Mango by Peeled Snacks was super tasty ($2.99). The smoky chili & lime roasted chickpeas by The Good Bean ($5.99) was found to be slightly on the salty side for everyone's liking along with A Good Portion's Pistachios ($4.99). The sea salt was found to be more prominent compared to the saffron. However, everyone really loved Tutti Gourmet's Bana Krisp with Almond & Cacao ($5.49). Surprisingly the banana was not too powerful and the cacao helped with the flavour profile. Plus, who doesn't love chocolate? 

Speaking of chocolate, the Whistler Rocket Chocolate ($4.99) was my kind of chocolate. I also have an affinity for dark chocolate and with the chocolate bar being organic that was an added bonus. The first of the two 'chips' in the box were Hardbite smokin' BBQ flavoured Chips ($1.25). Interestingly, each of these chip bags are hand packaged and even have the name of the person who packaged them. My co-worker and I were really surprised how tasty the Wai Lana Cassava chips ($2.99) were at first bite. Sort of reminded me of those shrimp chips you get at Chinese restaurants or stores except these cassava chips are gluten-free, soy-free and non-GMO. 

The other smaller items in the box were the Camino dark chocolate ($1.50) which was rather intense and tasted better over 2 cups rather than 1as was recommended. The Pamela's Products Whenever Bars ($5.99 for a box of 5) was unfortunately a miss. Not sure what it was, but certainly not very tasty or recommendable to others. Lastly, the Pecan Nut-Thins by Blue Diamond ($4.27) was likely on the salty side but paired well with cheeses like provolone and smoked gruyere. 

All in all, I am satisfied with my first Snackbox purchase. You can check them out at www.getsnackbox.com. I also received at $15 discount code in my last Snackbox for those of you interested in trying them out!


Code: HEALTHYSTART967
Expires: February 28, 2014

Let me know what your thoughts are about these snacks in the comments below or if you have tried other snack boxes!

Thursday, February 6, 2014

Winefest 2014 Returns!


Winefest 2014 in Edmonton is back on February 14-15 at the Shaw Conference Centre! If you have never gone, it is definitely worth going. One of the plus factors of Winefest is that you only need to pay once as your ticket is all-inclusive for the wine tastings, hors d'oeuvres, a complimentary Riedel wine glass and a Festival Guide!

There will be over 247 wines from 17 of the most renowned wine regions on attendance. So for example, if you would like to taste the entire line of 19 Crimes like I did than that is a possibility! 


This year there is also a free mobile app that Winefest has available so you can make tasting notes and remember all your favourite wines. The event runs Friday to Saturday and with it being Valentine's weekend I'm sure it will be a great event to attend. Take a look at their website for more details.


Giveaway! CLOSED

Now the exciting news is that I've been given the opportunity to giveaway a pair of tickets for Winefest's Saturday Afternoon Session ($150 value) from 2-5pm.  

Here's How You can Enter:
  • Mandatory Entry: Considering that Valentine's Day is coming up, leave me a comment below sharing what is your favourite wine to share with your loved ones.
  • Bonus Entry: (+1/day): Tweet - Enter to win a pair of tickets to @Winefest Sat Feb. 15 from @Beyondumami http://www.beyondumami.com/2014/02/winefest-2014-returns.html #yegfood
  • Please note that you must be 18+ to enter this contest and to attend Winefest (no minors, including infants are permitted to attend). Valid Photo ID is required to attend.
  • Leave me your contact information (most importantly your email) in the form below after you comment so I can contact you if you win.
  • Remember to comment below for the mandatory entry. 
  • Contest ends Wednesday February 12, 2014 at 11:59pm MST. 
Want to increase your chances of winning tickets? Diane at What Would Argenplath Pay, Linda Hong, and Marianne at Loosen Your Belt are also running giveaways. Check out their blogs while you're at it! 


Thanks everyone for entering! The Winner of the Winefest tickets has been contacted! Thanks for participating! 


Sunday, February 2, 2014

Macaron 103 - Buttercream Making and Macaron Assembly


In the past two posts we talked about What's in a Macaron, and How to Make Macaron Shells at Home. This third post will talk about making the buttercream and the finally assembly of the macarons. I've chosen to make pumpkin spice buttercream as the example. 

Pumpkin Spice Buttercream

Ingredients:
  • 80g (approx. 1/2 cup) superfine sugar 
  • 25g water 
  • 1 whole egg 
  • 1 egg yolk 
  • 160g soft butter (cut into cubes) 
  • 2 Tbsp pure pumpkin puree 
  • 1 1/2 Teaspoons pumpkin spice

Food Notes:
  • Superfine sugar can be made by taking granulated sugar and processing in a food processor.
  • You can purchase pumpkin spice at the store or make your own.

Directions for Homemade Pumpkin Spice Buttercream

  1. Bring sugar and water to a boil in a small pot. Heat the sugar to 250F(120C) using a candy thermometer. If it boils, clean the sides of the pan with a damp pastry brush. Try not to mix the solution, but allow it to heat on its own.
  2. In another bowl or the bowl of your Kitchen Aid whisk the eggs and egg yolks until it lightens in colour.
  3. Once the hot sugar mixture reaches 250F pour immediately into the whisking egg mixture. Then, increase to a higher whisking speed. Continue whisking until the mixture has cooled down completely. It will start to look like a meringue and be glossy.
  4. Keep whisking the meringue until it has cooled. Meanwhile, cream then whisk the butter until it has thickened. Once the egg mixture-meringue has cooled, add the butter. Add the whisked butter slowly into the meringue.
  5. Continue whisking until the buttercream is smooth. It may curdle slightly but this is okay. Keep whisking and the buttercream will come back together. Add in the pumpkin puree, whisk to incorporate, then add in the pumpkin spice. Take a look at this video for making the buttercream.
  6. Once the buttercream has come together, immediately transfer the pumpkin spice buttercream into a piping bag fitted with a nozzle (Here's a quick visual tutorial on piping bag basics). Match macaron shells by size, then pipe a small mound of pumpkin spice buttercream onto each half shell.
  7. Top with the remaining shell and give a slight twist to secure the macaron together.
This last post is the end of the Macaron tutorial. I would love to see the macaron creations you make! Just post them in the comments below.

If you want to make other Macaron flavours here is a current list of recipes that I have on the blog:

Strawberry Macarons  (note: this one uses an Italian method to make the macaron shello but you can use the buttercream flavour)

More exotic flavours

Connect with me on twitter @beyondumami or on Facebook.